Have a great day everyone.
|
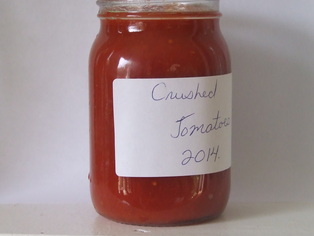
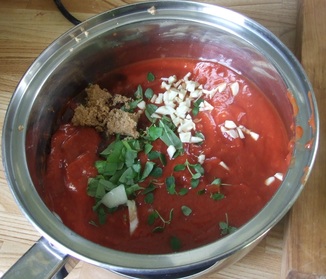
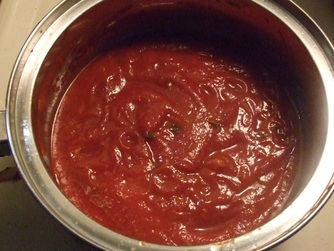
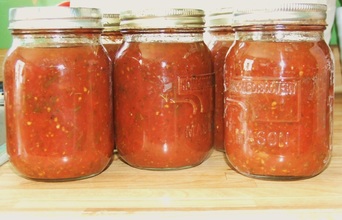
A little over a week ago Rosz posted a comment on my post regarding pressure canning tomatoes. She commented that she prefers to have ready-made sauce rather than just canned tomatoes. Thinking it would be easier. It is easy to have ready-made sauce, and I put up lots of it. I also like to have simple crushed or diced tomatoes on hand as it gives me more versatility, and allows me to add fresh herbs from my winter windowsill garden. We are having pasta tonight so I thought I would share with you how I turn canned tomatoes into sauce. First you need to decide if you want to use crushed or diced tomatoes. Reiley prefers the crushed tomato sauce with fettuccine so I just grab a couple of 500 ml jars of crushed tomatoes and we are ready to go. First, you need to decide if you want to use crushed or diced tomatoes. Reiley prefers the crushed tomato sauce with fettuccine so I just grab a couple of 500 ml jars of crushed tomatoes and we are ready to go. Now if I had been a little more organized today, I would have done this early this morning and had it simmering in the crockpot all day. Life intervened early today and I didn't get to it. So we are going to use the saucepan method. Pour your preserves into the pot, add whatever herbs you prefer, I am adding some fresh basil and thyme. A generous tablespoon of brown sugar, some salt and pepper, and caramelized onions and garlic round out the sauce. Stir everything in and simmer on the stove for about 30 minutes. As I said it will taste better if you have it simmering in a crockpot all day but this is good too. You can add this sauce to meat if you like or just use the sauce. I am going to add it to ground pork, if I was just using the sauce on pasta I would probably use diced tomatoes. I'm not trying to say that you shouldn't preserve ready-made sauce, I make and preserve lots of it. I don't want you to feel that it is your only option for quick meals. This sauce took me about 35 minutes to make. I mixed it up and had it simmering first, so by the time I had the ground pork and pasta ready the sauce was good to go. If I had remembered to put it in the crockpot on warm before I left this morning it would have been ready when I came home. The best part is that I find it does taste better with the fresh herbs and caramelized onions and garlic, especially in the middle of winter when we really need a taste of summer! So give it a try, add your favourite fresh ingredients and savor!. After all, that is what good food is all about.
Have a great day everyone.
0 Comments
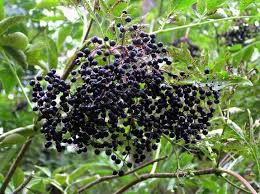
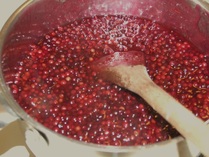
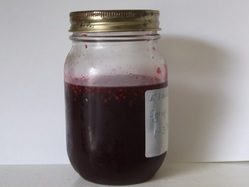
Hey Everybody, today we are going to make elderberry syrup. Elderberry, Sambucus nigra, has a rich history as a treatment for colds and flu and with the first cold of the season having already arrived here at the homestead I thought I would share my recipe for elderberry syrup with you. Make sure of your source for elderberries, there are multiple varieties of elders and where you live can determine the varieties you will find when wild crafting. The leaves stems and uncooked berries of all elders are poisonous. When you are removing berries from the stems try to keep it as clean as possible. The leaves and stems contain cyanoglycosides and will become concentrated if left in with the berries during the reduction phase. The good news is you can buy the Sambucus nigra, European Elder at most good nurseries. To make the syrup you will need: 1 cup of fresh elderberries, (or 1/2 cup of dried) 3 cups of water 1 cup of unpasteurized honey, the more local the better. Step 1: Put your elderberries and water in a heavy based pot and bring to a boil. The colour will change to a purple raspberry hue. Step 2: Reduce the heat and simmer, until volume is reduced by half Step 3: When mixture is reduced by half, mash with a potato masher to break up the berries Step 4: Strain through a mesh screen or a double layer of cheesecloth. Step 5: When mixture cools to warm, add in 1 cup of unpasteurized honey, stir thoroughly Step 6: When cooled, pour into a bottle or jar, label and store in the fridge. This will keep in the fridge for approximately three months. I made the one batch after we harvested our berries last week; but I know I will need more during the winter, so I put 1 cup of berries in each of five plastic bags and put them in the freezer so I can make up batches of syrup when needed. Elderberry syrup works on the immune system in much the same way echinacea and cranberry do, so it is important to start taking it at the first sign of illness. Dosage: Children: 1- 3 teaspoons every three hours. Adults: 1- 3 Tablespoons every three hours Note: For children under 2, add the syrup to hot water. This will to kill off anything in the honey that might make them sick. Have a great day every one! **Please note. I am not a doctor. This post is not intended to diagnose, treat
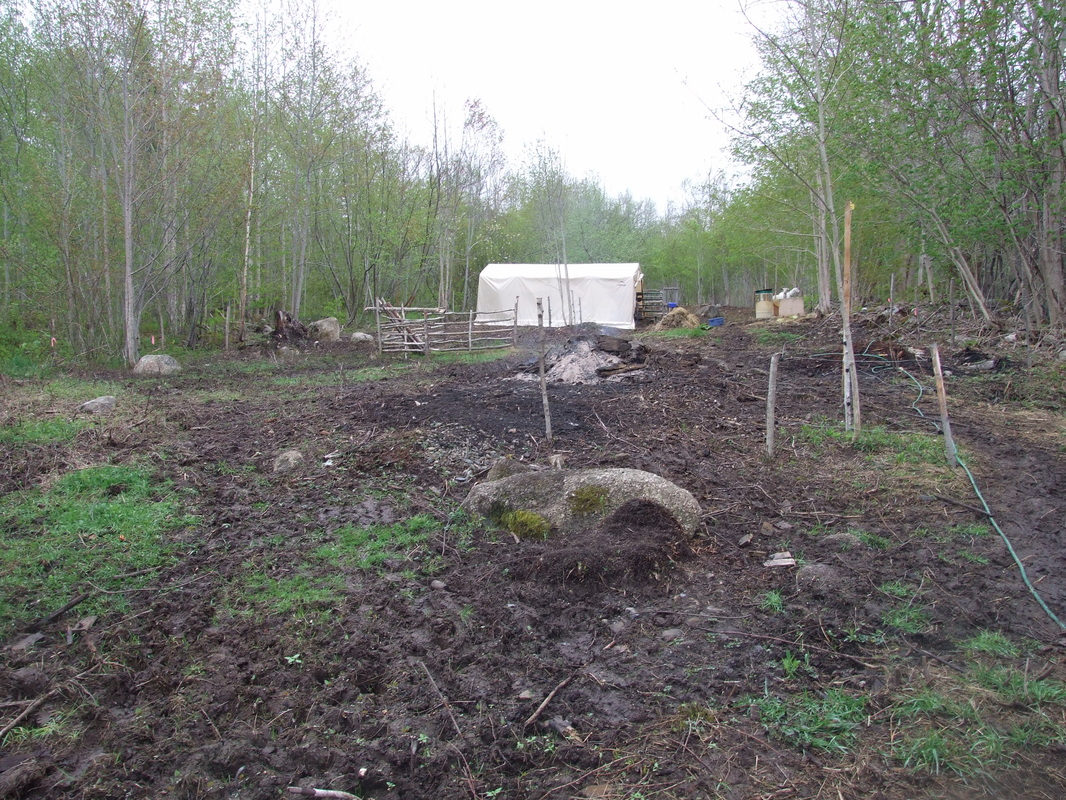
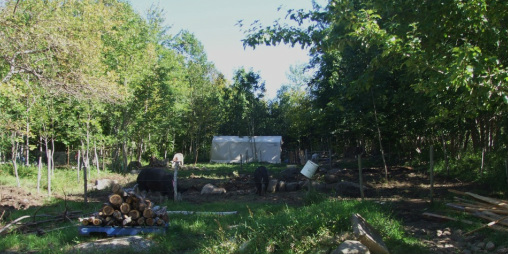
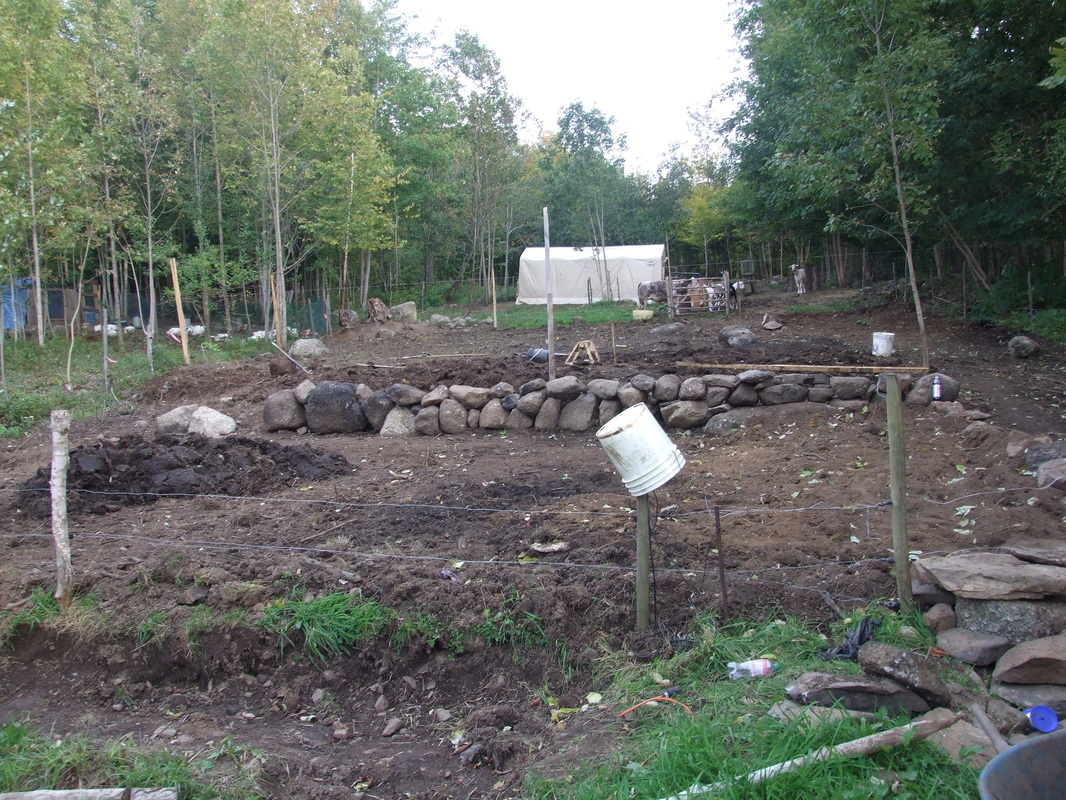
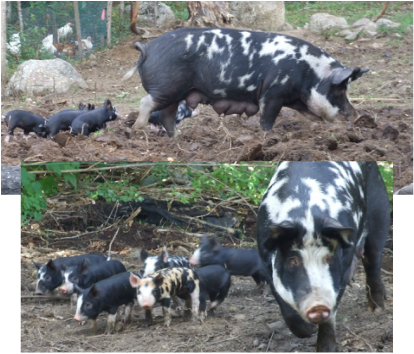
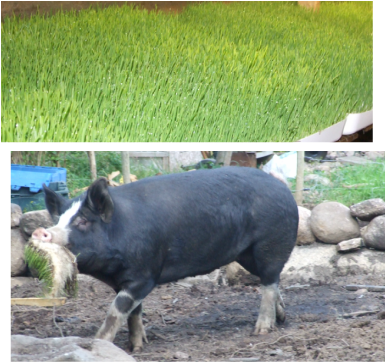
or cure any disease. The information presented here has not been verified by Health Canada.**  Happy First Day of Fall! I know not everyone welcomes fall like I do; you know who you are, those of you who see fall as a harbinger of winter. Cold long Canadian winter. Now I am not a huge fan of winter. I enjoy it probably up until late January and then it starts to wear on me. Thankfully that is just about the time the seed catalogues start to arrive; so sanity saved. Fall, or autumn as one of my grade school teachers tried to drum into me, fall is my favourite season. It is the time when all our hard work on the homestead surrounds us, the jars of canned food and medicine, the freshly butchered chickens and pig in the freezer the root cellar brimming with squash, turnip, carrots, apples and potatoes. The weather is amazing, warm days and cool crisp evenings, the first aromas of woodsmoke in the air. Mother nature's beautiful colour display, snuggling into cozy sweaters, having time to think as the workload slows down to a mangable 70 hours a week. Fall is time to sit back and enjoy your family friends, all your hard work and most importantly, the beauty surrounding you everywhere you turn. I think we should turn the first day of fall into Homesteading Day. Doesn't matter if your entire harvest is three bottles of jam in your closet! You are a homesteader at heart and you are well on your way simply because you have done something! There are many people out there who share your dream of the house / farm in the country who haven't done much but dream: but you actually did something, You canned three bottles of jam, you took the time and money to purchase your supplies, you read up on how to make and safely can your jam, then you did it! That hot, humid Saturday while the other people took a drive in the country in their air conditioned cars dreaming about which property they will have "someday", you stayed home canning jam and becomming a homesteader. So for you and everyone else who is living the homesteading life, Today is our Day! Join me in celebrating the first International Homesteading Day! We will be celebrating by butchering 15 chickens, how will you celebrate? Hey Everybody, well it has been another crazy week here at the homestead! The push is on to get everything done as we feel fall closing in. It really is a weird September, we have had frost for the past two nights now, we were lucky to escape the snowfall they had out west, but the cold mornings are a hurry up and get it done kick in the pants; and the forecast for tomorrow is calling for close to 2 inches of rain. The guys have been busy getting the garden ready, they have moved close to half a ton of rock, by hand, away from the new garden. There was an old foundation smack dab in the middle of where the garden needs to be, the pigs did a great job of rooting up the rocks so they were close to the surface. KillWilly in particular loves tossing rocks around. The lower bed is leveled and Gary will be taking the rototiller, aka the beast, in there within a day or two to incorporate the manure from the pig yard. Then we will be planting garlic next week. We haven't received the Siberian variety I ordered from Vesseys yet, but it should be here soon and we have our own saved seed to plant. I was hoping to be able to plant a covered crop of buckwheat in the garden that we could till under come spring, but with the cooler weather coming early I think we are going to end up just mulching heavily with old straw or hay. This is what the pasture looked like on May 20th of this year: Then on Labour Day weekend after the pigs had been there for a few days: Now today, the first terrace, closest to the camera, is leveled and just waiting for the manure to be worked in. Speaking of the pigs, Patches has been bringing her latest litter out foraging this week. They were born on the first, so she is keeping to the same schedule she always has. They are starting to eat from the creep feeder, but had a great time running around and pushing up dirt with their snouts! There is nothing that is as hysterical to watch as a little piglet trying to catch a grasshopper. I could watch them all day! The doorframe for the new basement door arrived yesterday, so we should get that in next week. Then we can start closing up the basement at the back of the house. That is going to make a huge difference in the amount of wood we burn this winter, it is also going to make it easier to keep the basement at a steady temperature for sprout production. After a year of experimenting Gari is producing well over 100 pounds of fodder a day and we want to double that for the winter! I have been busy putting together a guide to growing fodder, we are producing all this feed, winter and summer, on a set up which cost less than $150.00 to put in place. And it saves us somewhere around $300 a month in feed costs! The animals love to get their fodder everyday. The other preoccupation around here this week is getting ready for 4H Pro-show. This is the huge provincial show for all the top qualifiers for kids from 4H clubs all over Nova Scotia, Reiley is showing both Ivan and Pepper next weekend. He was supposed to show both animals in conformation and showmanship but there was an overlap in the schedule so he had to choose between beef and goat for showmanship and has decided to show beef. So pepper will only be shown in conformation class. Reiley is also taking one of his wood working projects, and will be competing in the beef and goat judging classes also. It is always a crazy busy weekend with kids running on too much sugar and caffeine with too little sleep, (barns open at 5:30 Saturday morning) and we wouldn't miss it for the world. So, next week is garlic planting time, I may set up a couple of cold frames in the new garden and plant some greens just to give us a bit of an extended season. The tomatoes have all succumbed to late season blight so they
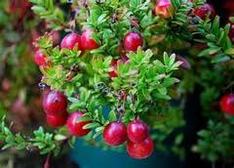
need to be hauled out and burnt, the heavy frost last night has finished most of everything else off so a clean up in the garden is necessary. It is also time to get the bees ready for winter. I will be opening up the hive and checking on the amount of honey they have, insulating the unused portion of the hive and the top. I am hoping to be able to remove those two plastic frames from the original nuc which gave us such a headache in July. I don't anticipate harvesting any more honey this fall. I would rather leave the honey there for winter stores than have to start feeding them in March. I am also going to be testing the soil in the new garden beds and figuring out what amendments need to be done. It is easiest to do these in the fall and I will have a post next week about this topic. So the final full week of September, chores in the garden as we take most of the last of the harvest from the garden, there is still a lot of canning and preserves to put up, apples to can for applesauce and pie filling, pumpkin and some squash the rutabagas will need to be canned and I need to put up some more blueberry. On the herbal side I am drying sage, thyme and basil. I will be potting up the cuttings I have for the herb "window" in the kitchen; rosemary, basil and chives. The mint, lemon balm and othe tea ingredients are drying nicely. I will be attending the Christmas Craft Sale at the Digby Elementary School the last weekend in November. I will have a wide assortment of soaps and herbal products there as well as some of my silver wirework jewelry. Lots of fiddley things to get ready for a craft show. I am also in charge of decorating the rental hall for Digby County 4H awards night on the 17th of October, (how do I get myself into these things?). I want to join the Exhibition Committee so the first meeting there is October 1st and I have just started working to try and resurrect the Digby Farmers Market for next year. On top of that Reiley needs to start schoolwork, There is painting to be done inside, the pantry and 1/2 bath to gut and build new, the regular 4h meeting schedule to start up again..... I think I need to lie down now. I have always been uber organized, you have to be with five kids all going in different directions. This past year being here with just Gary and Reiley I have kind of let things slide, time to pull up my socks and get things running again. Honestly the busier I am, the more I can get done. Firstly I have to get the house running on it's schedule again. If you have a set schedule for your house, monthly meal plans, who cleans what and when; it frees up so much time. It was how I went back to school with four kids aged 4 - 10yrs. Not only went back to school full time, but took a part time job as tutor and lab instructor in the nursing program, maintained a 3.95 GPA and kept the kids going to Girl Guides, gymnastics, karate, soccer and public school all while Gary was working 70+ hours a week and managed to meet the target of family meals at the table a minimum of 5 days a week. Yes I had a lot of support from Gary but the organization I had built into our routine made it possible. I have let it slide, time to get it back! Have a great day everybody! ( Remember to breathe!!) 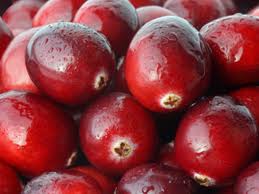 For most of us it is relegated to a side dish for Thanksgiving and Christmas dinner, from a herbalists perspective it is a powerful antioxidant, anti-inflammatory, and possible cancer prevention tool. The American cranberry, Vaccinium macrocarpon, is an evergreen shrub growing to 6 ft . It has small leathery leaves and can be found growing in bogs and wetlands from zones 3 through 7. The information in this article refers to American cranberry, not the various high bush cranberry, a vibernum, also known as crampbark, found in nurseries today. Cranberry has traditionally been used as a treatment for urinary tract infections, (UTI). For many years it was believed that the high acidity of the cranberry lowered the pH of the urine thereby making the bladder a less hospital environment for the bacterium which causes UTI's. In recent years however, scientific studies have shown that the structure of the proanthocyanidins, (flavonoids), actually block the bacterium's ability to attach itself to the lining of the bladder. Researchers are now studying this evidence to see if it could prevent stomach ulcers in the same way. Cranberry has been shown to be a powerful anti-inflammatory, specifically acting upon the cardiovascular system and digestive tract. The phytonutrients in cranberry that are especially effective in lowering our risk of unwanted inflammation, and virtually all of the phytonutrient categories represented in cranberry are now known to play a role by blocking the cytokines which tell our bodies to start an inflammatory response against against a perceived threat. Dietary consumption of cranberry has also been shown to reduce the risk of chronic, unwanted inflammation in the stomach, large intestine and blood vessel linings. Therefore, anyone with an auto immune disease should benefit from an increase in cranberries in their diet. This cytokine suppressing ability in addition to high fibre content means that a high dietary intake of cranberries will help lower your risk of atherosclerosis, plaque build up within the vessels and lower your 'bad' cholesterol levels. Nutritionally, cranberries are high in manganese, vitamin C and E and fibre. A 1 cup measure of cranberries, approximately 100 grams, will supply your body with 18% of your daily fibre intake requirements. . We are all familiar with the pictures of cranberries floating on the water as farmers flood the bogs containing the plants. For years this harvesting method was done simply for convenience, it is much easier to use a boom to gather floating berries than it is to try and pick berries from plants in soft boggy ground. Recent studies have shown that anthocyanin, the phytonutrients that give the berries their amazing red color, increases in direct proportion to the amount of natural sunlight striking the berry. So having berries floating on top of the water will actually increase the concentration of anthocyanins, making this humble berry even better for you. So look for ways to incorporate cranberries into your diet, cranberry sauce is easy to make from scratch: 3 cups of cranberries, 1 cup of water, 1 cup of sugar and a dash of lemon or lime juice. Boil until the cranberries 'pop'. This can be eaten fresh or canned in a waterbath canner for 15 minutes. Cranberries make a wonderful addition to pork dishes ad well as some of the stronger fish dishes. Try some dried cranberries instead of raisins in your snack foods and baking. As I mentioned in my post from Tuesday, dried cranberries mixed in chevre cheese with slivered almonds sprinkled on top is a favourite dessert around here. Cranberries freeze really well, I always buy pounds and pounds of cranberries when they go on sale after Christmas and store them in the freezer. If you are lucky enough to live near a cranberry grower, find out if they have public tours, they are harvesting now and it makes a great day out with the kids! **Please note. I am not a doctor. This post is not intended to diagnose, treat
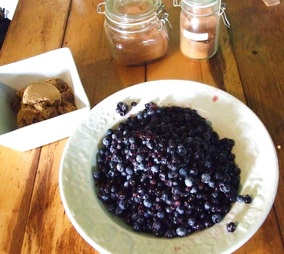
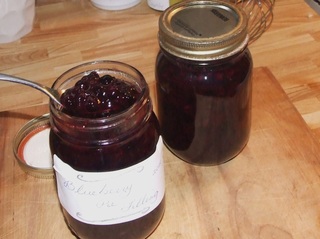
or cure any disease. The information presented here has not been verified by Health Canada.** We are back in the kitchen today, I am so far behind! Today I'm going to be making a supply of blueberry pie filling for all the men in my family. I am not a huge fan of blueberries but all my guys LOVE them, so I make blueberry pies. We only use wild blueberries around here, but I have friends who have used this recipe with highbush blueberries and it translates very well. Ingredients: 5 cups blueberries. ' 1 1/2 Tablespoons lemon Juice 3/4 cup of sugar. 1/2 teaspoon cinnamon 1/4 cup clear jel thickener * . 1/4 teaspoon nutmeg 1 cup water It is helpfull to have your jars sterilized and ready to go before you start making this pie filling, it doesn't take long to cook and it needs your undivided attention while it is heating. Just a note on the clear jel product, I tried it last year and have been pleased with the results. I use it only on pie fillings I am canning, if I am making pie from fresh product I don't use it at all. I especially like it for apple pie fillings. Last year was the first time I canned apple pie filling, we used to just procees the apples and measure out enough for a pie and then freeze the apples. In the interest of decreasing our reliance on the deep freeze, I am canning pie fillings. If you do not have the clear jel product, you can use a mixture of 4 Tablespoons of water and 4 Tablespoons of cornstarch for this recipe and omit the 1 cup of water 1. Wash your blueberries and set aside. 2. Place the sugar, water and clear jel in a pot, make sure you have the cooking version of clear jel, not the instant. 3. Slowly bring the mixture to a boil, stirring constantly. 4. Once the mixture begins to thicken, add your blueberries, spices and lemon juice. 5. Continue heating until mixture begins to simmer. 6. Allow mixture to simmer for two minutes, then pour into sterilized jars, leaving 1/2 inch of headspace. 7. Place lids on jars and process in a hot water bath process for 15 minutes. 8. Remove jars and allow to cool, check seals and label including year. This recipe will make 2 - 500ml jars of pie filling and you can easliy double or triple it. Around here the guys eat it on cheesecake, and ice cream in addition to pies and tarts. It should keep for two years, but I have never been able to put it to the test! Enjoy your blueberries everyone!
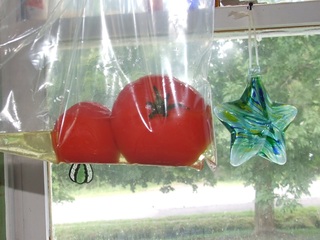
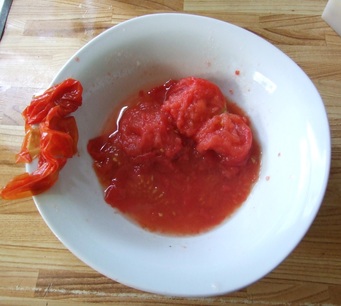
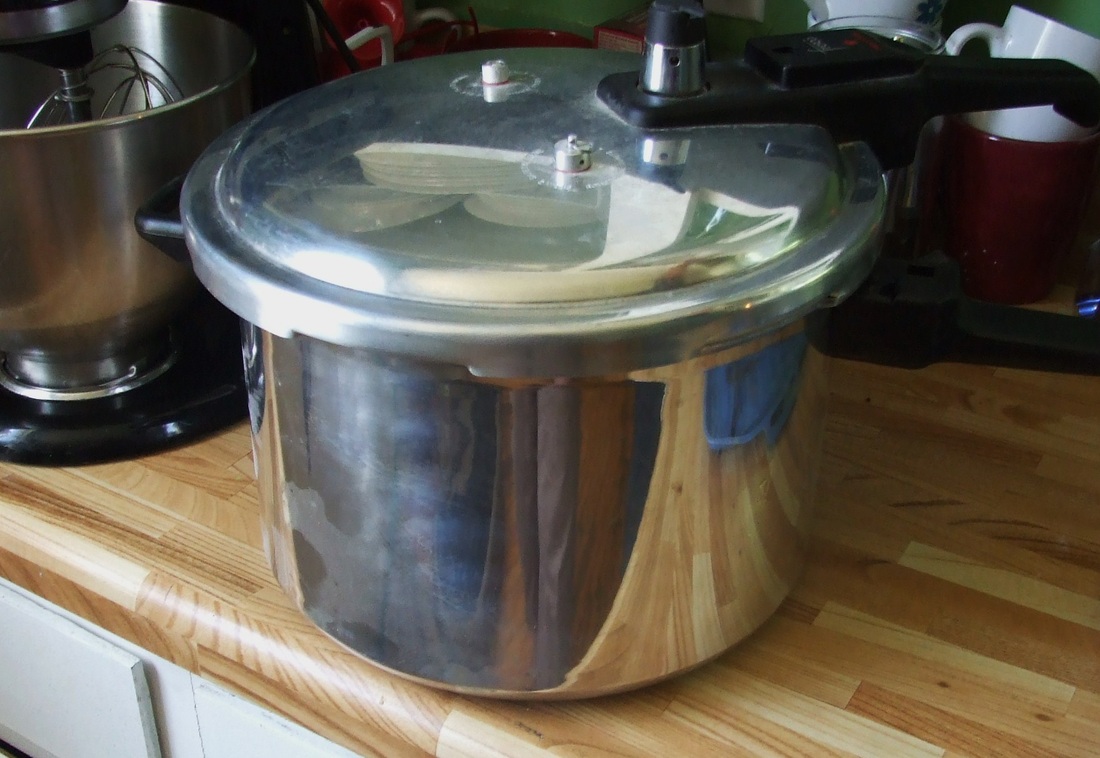
As I said yesterday I have found that canning straight tomatoes is the most versatile way I have found to preserve our tomato harvest. These can then be made into sauce, paste, puree or stewed. I process these in the pressure cooker as that is the safest way for me. There are ways to process tomatoes in a water bath by adding lemon juice or citric acid. Lemon juice can affect the taste while I have not found that citric acid affects the taste. The decision is yours, by adding a mild acid to each jar, you can lower the pH enough to be sure your tomatoes are safe providing you follow the normal processing directions. However, as I said yesterday, we are trying to reduce our reliance on deep freezers, so things that I used to freeze, sauces, broth, and some meat is now being canned and for these you absolutely need a pressure canner. You are messing with botulism, it is odourless and tasteless and it can kill you. Enough said. So preparing tomatoes for canning. There are as many ways to do this as there people reading this. For my preserves I choose to simply use whole tomatoes. It is recommended to skin the tomatoes, now you can use a vegetable peeler and try to peel your tomatoes, or you can freeze your whole tomatoes after cleaning them and cutting off any blemishes. Freezing the tomatoes does two important things for you; first it will make the skins slip right off the fruit. Secondly and probably more importantly it will remove, a large portion of the water in the tomato. This allows you to use the glut of less meaty tomatoes, what my grandmother use to call slicing tomatoes. The usual problem with using these tomatoes is that it takes so much energy and time to boil off the water. Probably the best thing about freezing the tomatoes is that you can stockpile them until you have enough to make preserves with no loss in quality. They are now very easy to peel, the skins just rub off. You can also remove the skins by blanching your tomatoes, dropping them in boiling water for approximately 15 seconds and then putting them in ice water. If you want to remove the seeds you can put the pulp through a food mill at this stage. I don't remove the seeds, I eat the seeds when I eat fresh tomatoes so I don't worry about them in my canned tomatoes. It takes a surprising amount of tomatoes to make tomato sauce. In my experience it takes approximately 5 1/2 pounds of tomatoes to make 1 litre of thin sauce, and closer to 7 lbs for a really thick sauce. My regular tomato preserves are the consistency of a thin sauce. Depending on what I am using it for I can reduce it some after I open. Now that you have lots of your peeled tomatoes, put them in your stock pot and bring to boil, add 1 tablespoon of brown sugar and 1/4 teaspoon of salt for each pound of tomatoes you put in. This helps to really bring out the flavour. Once the tomatoes have reached boiling, turn down the heat and continue to simmer until the amount has been reduced by one third, (for thick sauce reduce by 1/2). While the sauce is simmering, prepare your supplies as you would for any other canning project, sterilize the jars and lids. If you are using lemon juice or citric acid get these ready and prepare for water bath processing. The amount of lemon juice for 1 litre jars is 2 tablespoons, for 500ml jars is 1 tablespoon. If using citric acid, use 1/2 teaspoon for 1 litre and 1/4 teaspoon for 500 ml jars. The pressure cooker. 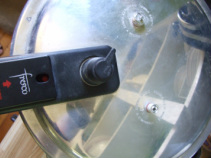 Essentially a pressure cooker is a heavy pot with a lid that seals and a valve that controls the steam pressure inside. It increases the pressure inside the pot relative to the atmospheric pressure outside of the pot. For cooking food, this decreases the amount of cooking time; for canning it increases the temperature of the water and steam inside. In regular water bath canning the water boils at 100 degrees C, no matter how much more heat you put under that pot the water will not get any hotter than 100 C, (212 F). A pressure cooker allows steam to build up inside the pot increasing the pressure and the temperature inside the pot. By just increasing the pressure to 15 psi, you will raise the temperature inside the pot to something close to 120 C, (250 F). This is hot enough to kill any pathogens which are in your preserves. For cooking this means tenderising and cooking a 2 pound beef roast in less than an hour, and if you add beef broth and mushrooms you will be a pressure cooker convert. While features may vary from model to model, all modern pressure cookers will have a lockable lid usually via a spring mechanism within the handle, a sealing ring, a pressure regulator vent pipe and a safety release plate or valve. Please read the manual that came with your cooker to become familiar with the model you have. The manual will also give you instructions for care and maintenance of your cooker. It is important to inspect the seal and safety release valves or plates each time you use your cooker. For those of you who are somewhat intimidated by the idea of the pressure cooker, as I was, try setting up the cooker and just putting water in, bringing it up to temperature and then letting it sit. It will give you the confidence of knowing it wont blow up, without all the hectic distraction of canning at the same time. So that is pressure cookers 101. Somewhat intimidating but you just need to become familiar with them. Sort of like milking a goat for the first time, or operating a rototiller. Scary at first but we are all homesteaders here! We didn't choose to live this lifestyle because we hate learning new things. Now back to the tomatoes.... Once you have reduced your tomatoes to the level you desire, fill your jars and place the lids on, you do everything as you would for water bath canning, so do not over tighten the rings on the jars. Now you will have to put water in your cooker, the amount will vary depending on the size of your pressure cooker. Unlike a water bath you will not need enough water to cover your jars. In a pressure cooker it is the steam that does most of the heating. usually an inch to two inches of water is the recommended amount, but please check the directions that came with your cooker. Place the jars into your cooker and lock the lid in place. turn on the heat and wait. Start timing once steam starts coming from the cooker, 10 - 15 minutes is the recommended time frame. Once the time is up, remove the cooker from the heat and leave it alone, do not try and remove the lid from a hot pressure cooker. Some models will have a pressure valve that allows you to manually vent pressure, if yours does you can release steam and then open. Remove the jars and let them cool. So that's it You have now made tomtao preserves... with a pressure cooker! These will safely keep for 2 years, but if your house is anything like mine they will dissapear long before that deadline. Try experimenting with different recipes, you will find sop many ways to utelise these tomatoes.
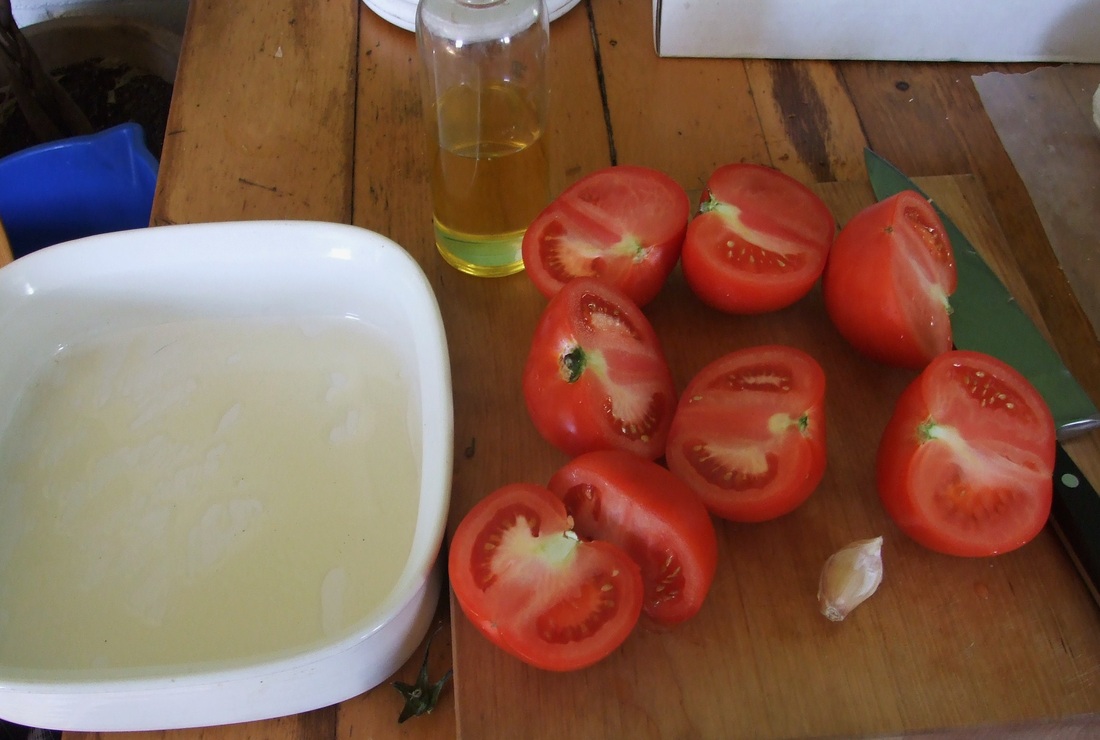
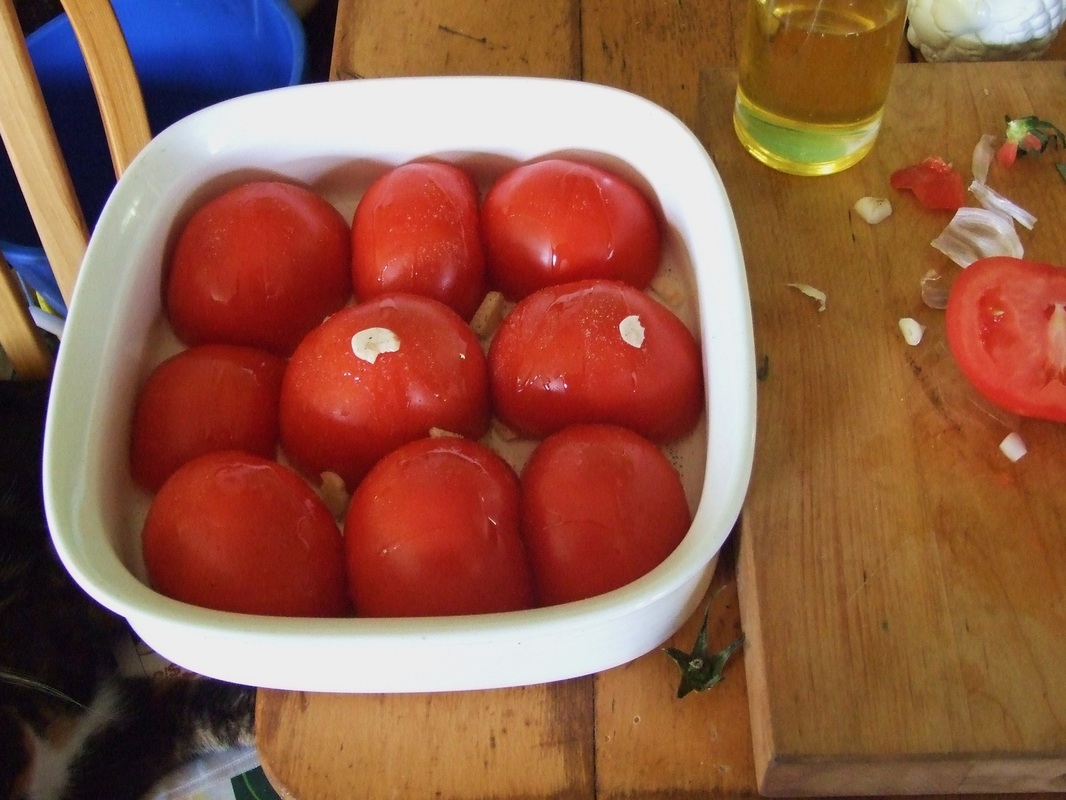
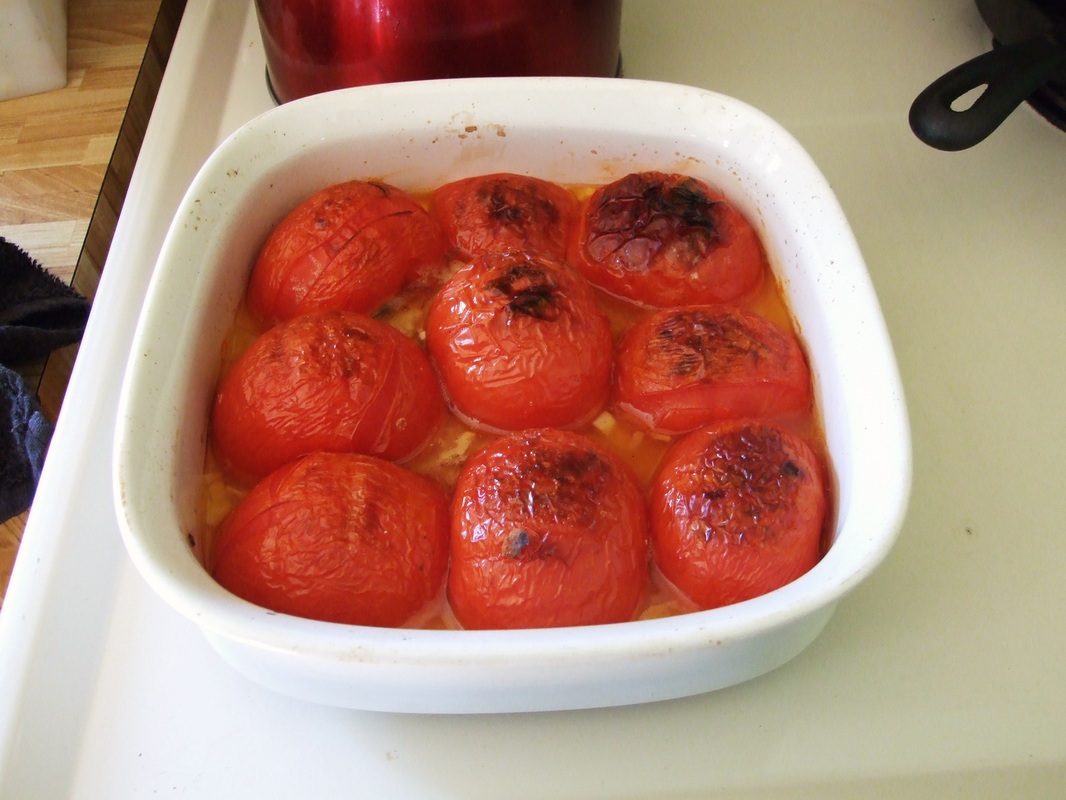
As always I'm happy to answer any questions. Have a great day everyone. Before I get into today's post I just wanted to give everyone a heads up on this week. As I mentioned last week this wee is exhibition time for us. Reiley is showing Pepper and Ivan tomorrow and Wednesday, I am judging crafts and sewing for the 4H on Wednesday. Thursday through Saturday I am barn manager at the 4H barn from 7am- 7pm. Posts will be sporadic. When I sat down to write the tomato preserves post I realized it was just too long to be one post so I've split it up in two parts. The real technical one will be tomorrow; How To Tuesday this week will be on canning tomatoes with the pressure cooker. Not scary, I promise! It's that time of year again, all the stuff, well at least a large majority of it, that you planted is flooding you with an abundance of produce. You have given away vast amounts of it; your neighbours draw the curtains and lock the doors if they even SEE you picking more zucchini, what to do with it all? Hopefully you have remembered your local food bank, they love getting fresh produce! There are some things that you just can't find at a supermarket, and at the top of that list is fresh vine ripened tomatoes. In my humble opinion, there is nothing that tastes as good as a tomato warm off the vine, and those tomato facsimiles sold in supermarkets are not worth taking home even if they gave them away. Remember back to last February, the nasty cold wind blowing the snow around, if you were anywhere near Nova Scotia we were having a blizzard every Wednesday. Now imagine this coming February; sitting down to peruse one of the seed catalogs which has recently arrived in you mailbox, the wind is howling and its freezing outside, but you are sitting down to a lunch of fresh baked bread, some of your own chevre seasoned with basil and rosemary and a bowl of roasted tomatoes and thyme spread which you lovingly made and stored last August. Sound like a good way to spend a February afternoon? Well to get that February afternoon, you need to preserve your tomatoes now. Yep even though you think that you are sick of tomatoes and you really can't imagine ever wanting to eat another one! So let's get started. There are three main ways to preserve tomatoes; freezing, canning and drying. You should utilize all three for the greatest variety of use during the coming winter. Freezing and drying are the easiest ways, canning tomatoes requires some experience, as tomatoes tend to be on the border when it comes to acidity levels. Remember last week when I talked about high acid and low acid foods? High acid foods can be canned safely in a water bath canning process, low acid content foods require a pressure cooker to safely preserve them. I don't fool around with tomatoes, they are done in the pressure cooker. If this terrifies you don't worry, I think pressure cooker stories have become the rural version of an urban myth. Every family had an aunt or a friend of a grandmother who was injured in a pressure cooker explosion or a large dent in a ceiling that came from a launched pressure cooker lid. Some are true, but the truth is all modern pressure cookers are so absolutely safe that you would have to seriously tamper with one to even get it to explode. I promise I'll walk you through it. There are four main products I make from our tomato harvest: salsa, tomato sauce, tomato paste and tomato soup. It used to be a guessing game of how much of each to make every year. However a couple of years ago I realized that I only needed to make canned tomatoes. I could then take the jar of tomatoes and make a sauce, soup, or paste from my canned tomatoes. They also make a fabulous paella. My favourite way to prepare tomatoes is to roast them and then freeze them. This makes a wonderful base for sauce, especially good on pizza, it also makes an amazing spread that works on crackers, or the afore mentioned fresh bread of a February afternoon. All things being equal, I would prepare all of our tomatoes this way. However we simply do not have the freezer space to do this, and with the planned switch over to off grid living I am trying to drastically cut our reliance on deep freezers. So this method is now reserved for about 30% of our harvest. This is a very simple recipe and you can use any variety of tomato, from meaty roma variety to those so sweet little cherry tomatoes, try putting a couple of different varieties together to get a mix of flavours. Roasted Tomato Ingredients As many ripe tomatoes as you have Olive Oil Garlic Fresh Thyme or Rosemary (optional) Salt & Pepper Pre-heat your oven to 350 F Wash your tomatoes, pat dry and cut off any skin blemishes, Slice them in half, even the little cherry ones. Drizzle a moderate amount of olive oil in the bottom of your roasting pan and place the tomatoes cut side down in the pan. Don't be afraid to jam them in as they will shrink up in the oven. Peel and slice, or mince, your garlic. The amount will vary depending upon how much you like garlic and how many tomatoes you have. Sprinkle the garlic over the tomatoes, and drizzle more olive oil on top. To encourage the flavours to mix, sprinkle with salt and pepper. Place in the middle rack of your pre-heated oven and bake for 45 minutes. Now sit back and wait for everyone to come asking what smells so good! (Think bruschetta). After they are done rosting you simply need to let them cool, and then place in a freezer bag and put in the freezer.You can put in the oil if you want or just the tomatoes. I put in just the tomaotes, Gary has been known to add everything. That's all. When you are ready to use them, simply thaw and they are ready to use. You can place them directly on bread for a sandwich,make fab pizzas and they go really well with both fish and lamb. They do wonderous things to soups! You can use them as they are or you can put them through a food processor, add any herbs you wish.
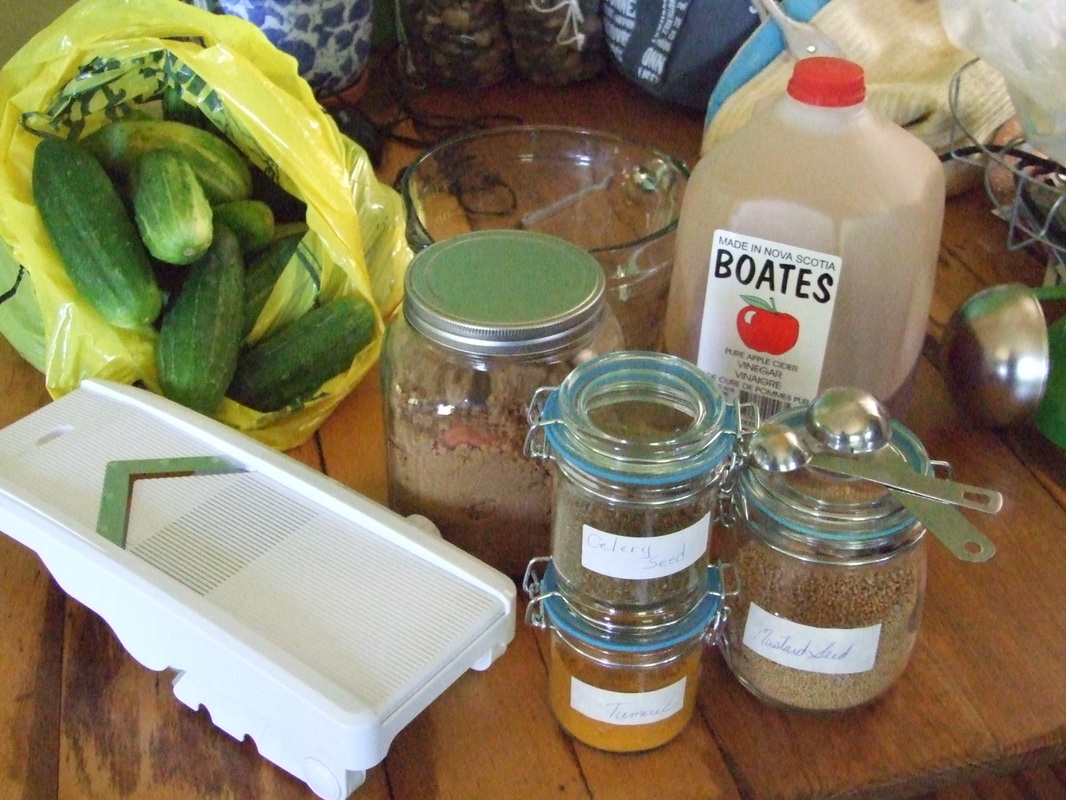
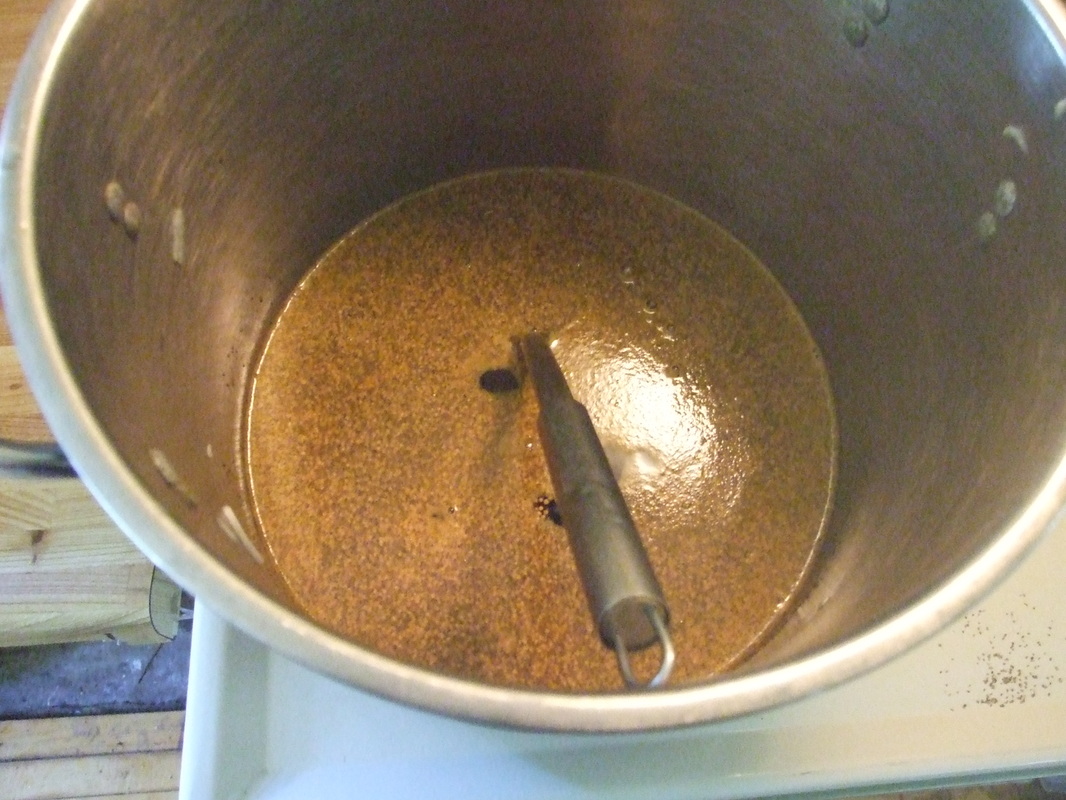
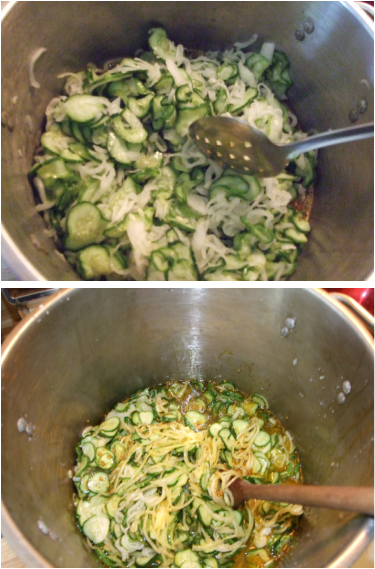
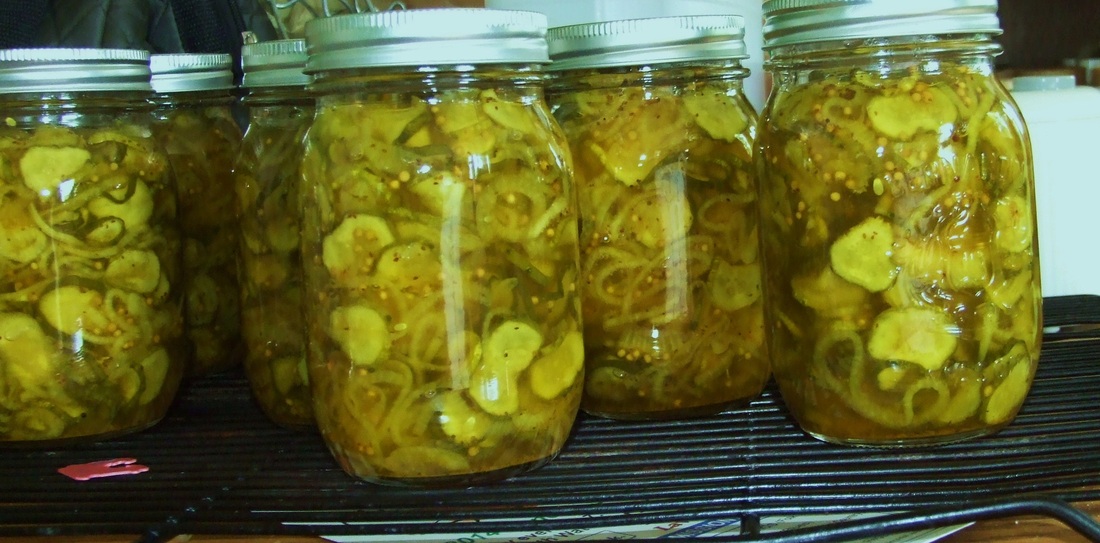
Hopefully you will give these a try, they are so easy and in the dark of winter will bring back the taste of summer. Tomorrow we are going to make canned tomatoes with the pressure cooker. I know they are intimidating, but they really are the safest way to can pure tomatoes; and if you have any asperations of canning meats, stews, soups or vegetables they really are a necessity. Once you take the plunge you will be suprised how easy it really is. I was, and I let my pressure cooker sit in the cupboard for a full year before I attemped to use it! If you put any whole tomatoes in the freezer last week, take them out tonight to thaw we can use them tomorrow. Have a great day everyone. Welcome to the second How to Tuesday. Last week I showed you how to make zucchini relish, today I'm going to show you how to make bread and butter pickles. These are wonderful pickles that go well with just about everything and are really easy to make. Please, if you haven't read the post on making relish please do so before making the pickles. There is importanat safety instructions and helpful tips. Lets get started! Ingredients: 16 cups of sliced pickling cucumbers, approximately 11 pounds 8 medium onions sliced, approximately 5 pounds 3 cups apple cider vinegar 4 cups brown sugar 2 Tablespoons of mustard seed 1 1/2 teaspoon celery seed 1 1/2 teaspoon tumeric 1/3 cup pickling salt Ice, about 6 cups You will need a non metallic bowl, large enough to hold the sliced onions and pickles. A pot large enough to hold all the ingredients, a separate pot large enough to hold your jars for sterilizing and processing, measuring cup, measuring spoons, ladle, spoon and colander. A mandolin is very helpful and a time saver. 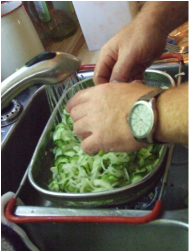 Gary rinsing the veggies! Gary rinsing the veggies! Start by washing the cucumbers and then slicing, as close as you can to 1/8th of an inch. After the cucumbers are done, slice the onions, as close as possible, to the same thickness. Place both onions and cucumbers in your large non metallic bowl, add pickling salt and ice. Mix everything together until the salt and ice are evenly distributed. These now need to sit in the fridge for a minimum of three hours or a maximum of 12 hours. After the allotted time is up, drain the mix, rinse and set aside. Combine the sugar, vinegar and spices in a pot and bring to a rolling boil. Stir frequently to prevent the sugar scorching on the bottom. At the same time, bring the water in your processing pot to a boil in preparation for sterilizing your jars. Try to time the sterilizing so that you are putting your cooked pickles into still warm jars. Once the sugar and vinegar solution is boiling, add the onion and cucumber mixture. Stir thoroughly and bring the mixture back to a boil, stirring frequently. Once the mixture has started to boil remove from heat. Ladle into your sterilized jars. This recipe will not leave any extra liquid, so you may have to play with the levels a little to be sure they are filled to 1/4 of an inch below the rim. Once the jars are full, wipe the rims of the jars with a clean damp cloth to make sure there is nothing on the edges to prevent a full seal. Place the lids on the jars and add the screw bands, do not over tighten. Place the filled jars into the water of your processing pot. The filled jars need to be processed for ten minutes at a rolling boil. Do not start timing until the water returns to a boil after you add the jars. Once the processing is finished, remove the jars from the pot and allow them to cool. You should hear the telltale "POP" sound which tells you that you have a strong seal. Always check the lids before storing your preserves. This recipe will make approximately 8 litres of pickles, and in my experience
they regularly stay crisp for two years. Well! If you have completed either the relish or this pickle recipe, hopefully both, you now have a good working knowledge of basic canning. YAY! I knew you could do it. Next week we are going to step things up a notch and deal with the glut of tomatoes many of us have at this time of year. If you are already innundated with luscious tomatoes don't panic. Wash the fruit and cut off any obvious blemishes. Pop the tomatoes into a freezer bag and put them in the freezer until next week. There you have already started! See you tomorrow, have a great day everyone, |

A 4-H Family
Lives Here
Categories
All
Archives
December 2014
|


 RSS Feed
